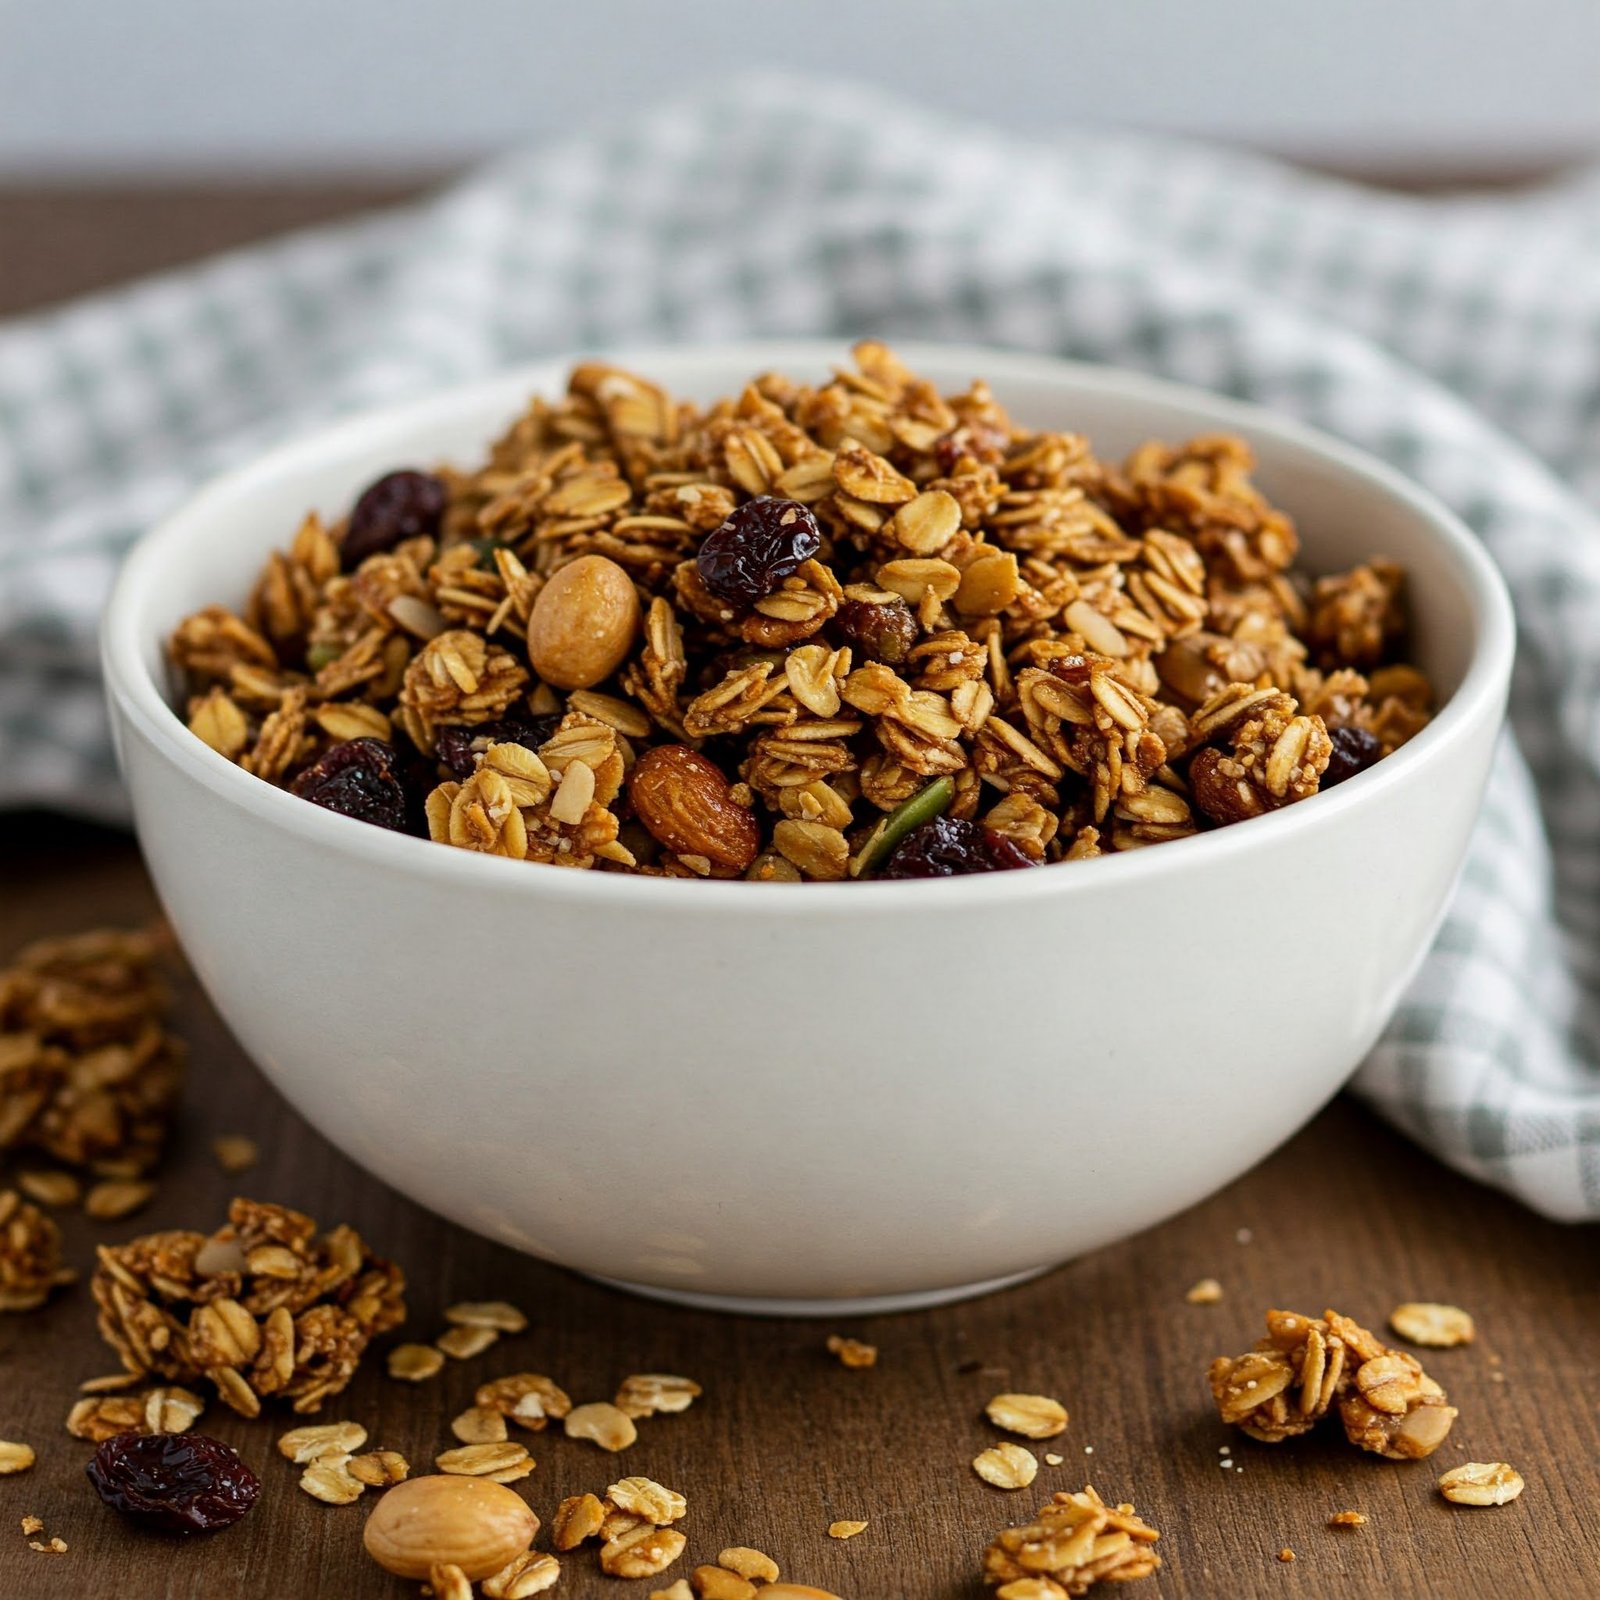
Okay, Let’s Talk Granola!
Right, confession time. I used to spend a small fortune on those fancy bags of granola from the posh shops. You know the ones – tiny bags, massive price tag. Then one rainy Tuesday, staring at a sad-looking box of rolled oats, I thought, “How hard can it be?” Turns out, making your own easy homemade granola is ridiculously simple, way cheaper, and honestly? It tastes SO much better. Plus, your kitchen smells like heaven had a baby with a bakery. Seriously.
Why I Bother Making This (and You Should Too!)
- It’s genuinely easy: Like, mix-stuff-in-a-bowl-and-bake easy. No fancy techniques needed.
- Control freak paradise: You decide what goes in! More nuts? Less sugar? Weird spices? Go for it! (Though maybe avoid the paprika experiment… ask me how I know).
- That Smell!: Honestly, half the reason I make it. It fills the house with this warm, toasty, mapley aroma. Pure bliss.
- My family devours it: It disappears ridiculously fast. I make a big batch on Sunday, and I’m lucky if it sees Wednesday morning. It’s great for breakfast, snacks, topping yogurt… you name it.
- No more burnt bits (mostly!): Okay, I did burn my first few batches years ago because I wasn’t paying attention. But stick to the low-and-slow method, and you’ll get perfectly golden clusters. Promise.
What You’ll Need (The Basic Bits and Bobs)
This is just a starting point, feel free to get creative!
- Rolled Oats: About 3 cups (like 270g?). Use old-fashioned rolled oats, not the instant/quick-cooking kind. They just turn to mush. Trust me. Bob’s Red Mill has a good explanation of oat types if you’re curious.
- Nuts & Seeds: Roughly 1.5 cups total. I love pecans and pumpkin seeds (pepitas!), but almonds, walnuts, sunflower seeds… whatever you fancy or have lurking in the cupboard. Use raw ones.
- Oil: 1/2 cup (120ml). Melted coconut oil is lovely, but a neutral oil like rapeseed or even a light olive oil works too.
- Sweetener: 1/2 cup (120ml). Maple syrup is classic and my go-to (Grade B or Dark Robust has more flavour, apparently it’s graded differently now but just get the dark stuff). Honey works too, or agave nectar. My Nan swore by golden syrup, but it’s a bit much for me.
- Salt: 1/2 teaspoon. Don’t skip it! It makes the flavours pop.
- Spice (optional but nice): 1 teaspoon cinnamon is standard. Sometimes I add a pinch of nutmeg or cardamom too.
- Vanilla Extract: 1 teaspoon. Just makes everything taste better, doesn’t it?
- Dried Fruit (Optional Add-in): About 1 cup. Raisins, cranberries, chopped apricots… Add these *after* baking, or they turn into little rocks.
- Other Fun Stuff (Optional Add-ins): Coconut flakes (add halfway through baking), chocolate chips (add when completely cool!).
How To Whip It Up
- Get Ready: Preheat your oven to 150°C (that’s about 300°F). Line a big baking sheet with parchment paper. Honestly, parchment paper is your best friend here for easy cleanup. Don’t skip it unless you enjoy scrubbing pans (weirdo).
- Mix the Dry Stuff: In a big bowl, chuck in the oats, nuts, seeds, salt, and any spices you’re using. Give it a good stir.
- Mix the Wet Stuff: In a separate smaller bowl (or a jug is handy), whisk together the oil, maple syrup (or whatever you’re using), and vanilla extract.
- Combine!: Pour the wet ingredients over the dry ingredients. Stir it really well. Like, *really* well. You want every single oat flake to get a little bit coated and happy. Don’t be shy, get your hands in there if you need to (clean hands, obvs).
- Spread ‘Em Out: Tip the mixture onto your prepared baking sheet. Spread it into an even layer. Don’t overcrowd the pan – use two if you need to! This is key for crispiness.
- Bake & Stir: Pop it in the oven. Bake for about 30-40 minutes total. BUT! This is important: stir it every 10-12 minutes. Just gently turn it over with a spatula. This helps it cook evenly and stops the edges burning while the middle stays soggy. This is usually where I sneak a taste of a warm nutty bit… chef’s privilege!
- Golden Hour: It’s done when it looks golden brown and your kitchen smells amazing. It might not feel super crunchy straight out of the oven, don’t panic! It crisps up as it cools.
- Cool COMPLETELY: This is the hardest part. Let it cool completely on the baking sheet *without touching it*. Seriously. Walk away. Make a cuppa. This is when the magic happens and those lovely crunchy clusters form. If you stir it while it’s warm, it’ll break up too much.
- Add the Extras: Once it’s totally cool, break it up into chunks (as big or small as you like). Now you can stir in any dried fruit or chocolate chips.
Little Notes From My Kitchen
- For extra clumpy granola (my fave!), press the mixture down slightly with the back of a spatula before baking. And maybe add a whisked egg white to the wet ingredients? I tried that once, it worked pretty well.
- Adjust the sweetness to your liking. Start with a bit less maple syrup if you’re unsure, you can’t take it out once it’s in!
- Make sure your nuts aren’t already roasted, or they might burn during baking. Raw is best.
- I learnt this form trial and error: Don’t bake it at too high a temperature thinking it’ll be faster. It just burns the outside and leaves the middle chewy. Low and slow is the way to go.
Playing Around With Flavours (Variations!)
This is where the fun starts! I’ve tried loads of things:
- Chocolate Cherry: Use almonds, add dried cherries and dark chocolate chunks after cooling. Lush.
- Tropical Vibes: Use coconut oil, add macadamia nuts and dried mango/pineapple (after cooling!), maybe some coconut flakes towards the end of baking.
- Autumn Spice: Go heavy on the cinnamon, add ginger and nutmeg, use pecans and walnuts, maybe some dried apple pieces.
- The One That Failed: Okay, I once tried making a savoury version with nutritional yeast, rosemary, and garlic powder. Let’s just say… it wasn’t my finest hour. Some things are best left sweet, eh?
What Gear Do You Need?
Nothing too crazy! A big mixing bowl is essential. A sturdy, large baking sheet (or rimmed cookie sheet) is pretty important so things don’t slide off. If you only have flimsy ones, maybe double them up? Oh, and parchment paper – seriously, makes life easier. A spatula for stirring. That’s about it!
Storing Your Lovely Granola
Once it’s completely, totally, absolutely cool (are you sensing a theme here?), store it in an airtight container at room temperature. It’ll technically keep for a couple of weeks… but honestly, in my house, a batch of this easy homemade granola never lasts more than three or four days! It just gets gobbled up.
How We Like To Eat It
My absolute favourite way? A big dollop of thick Greek yogurt, a handful of this granola, and some fresh berries. Perfect. But it’s also great with milk (like cereal, but way better!), sprinkled over smoothie bowls, or just eaten by the handful as a snack when no one’s looking. My youngest even likes it on ice cream, which sounds weird but is actually pretty good.
Pro Tips (Learned the Hard Way)
- Don’t Rush Cooling: I know I keep banging on about this, but I once tried putting it in the container while still slightly warm because I was impatient. Result? Condensation = soggy granola. Disaster. Let it cool!
- Even Layer is Key: I once piled it too high on the baking sheet. The edges burned black while the middle was practically raw. Spread it out thin! Use two sheets if your batch is massive.
- Watch the Sweetener: Honey tends to brown faster than maple syrup, so keep an extra close eye on it if you substitute.
Quick FAQs (Stuff People Ask Me)
Help! Why isn’t my granola crunchy?
Ah, usually one of three things: 1) You didn’t let it cool completely before storing it (see above!). 2) You didn’t bake it long enough (it should be nicely golden). Or 3) Maybe too much wet stuff vs dry stuff? Check your ratios. Or sometimes, humidity can be a pain! Make sure its stored airtight.
Can I use quick oats instead of rolled oats?
I really wouldn’t recommend it. Quick oats are thinner and more processed; they tend to get powdery and won’t give you that nice chewy-crunchy texture. Stick with old-fashioned rolled oats for this easy homemade granola recipe!
Is homemade granola actually healthy?
Well, it *can* be healthier than many store-bought versions because you control the sugar and oil. Oats, nuts, and seeds are good for you! But it’s still quite calorie-dense, so portion size is key, innit? It’s definitely more ‘real food’ than lots of processed cereals though.
How long does it *really* last?
If stored properly in an airtight container, easily a couple of weeks. Maybe longer? I wouldn’t know for sure, ours vanishes far too quickly to test the limits! I reckon the flavour is best in the first week though.
Right, I think that’s everything! Go forth and make granola, you’ll be chuffed you did. Let me know how it turns out!