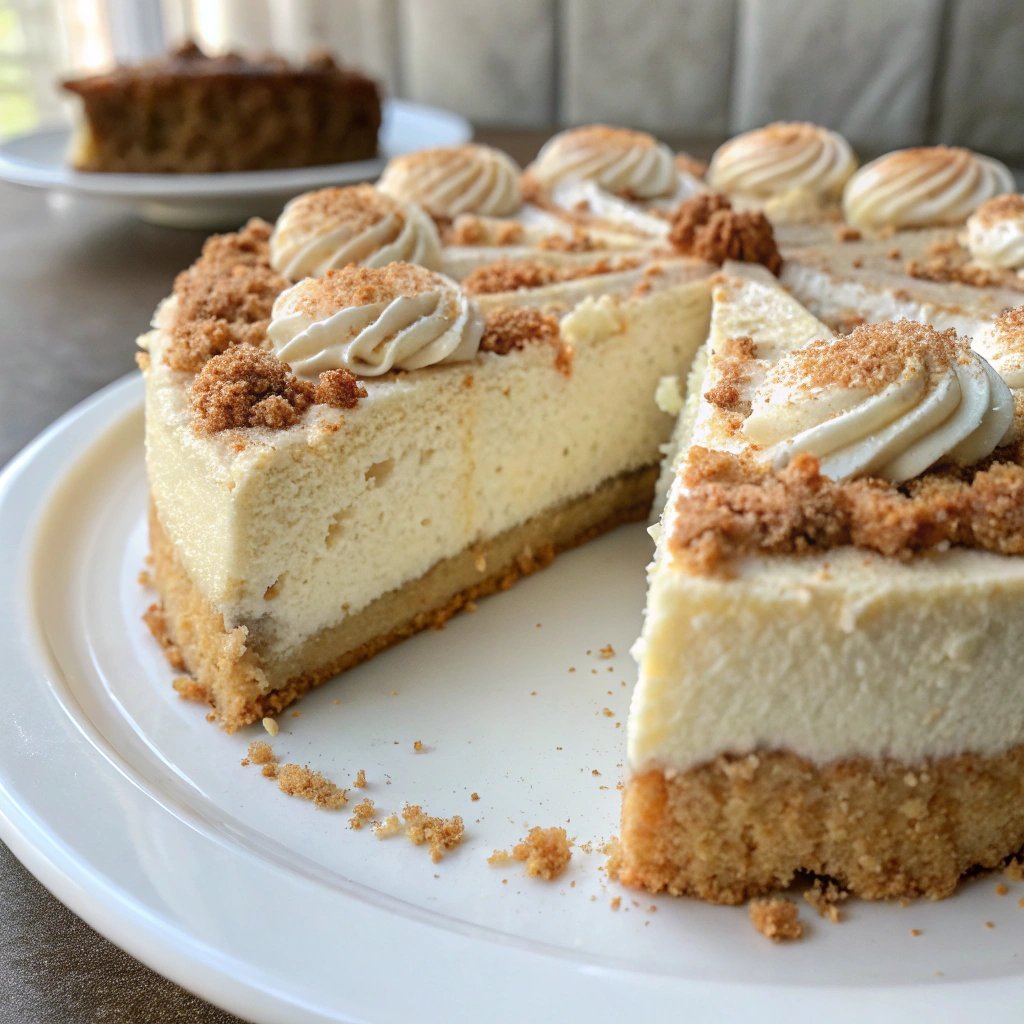
Alright, settle in! Let me tell you about this sugar cookie cheesecake. It’s one of those desserts that just screams ‘happy’ to me, you know? I first whipped this up a couple of years ago for a holiday potluck – totally last minute, naturally – and it was an absolute smash hit. Like, people were asking for the recipe before I even got a slice for myself! It’s been in heavy rotation ever since, especially when I need something impressive but not *too* fussy. Plus, who doesn’t love sugar cookies *and* cheesecake? Putting ’em together just makes sense, like peanut butter and jelly or comfy sweatpants and a good movie. Honestly, it’s become a bit of a signature for me.
Why This Cheesecake is Just the Best
Oh man, where do I even start? Okay, first off, it’s got that creamy, rich cheesecake filling – the good stuff. But then! You get that slightly crisp, buttery sugar cookie crust. It’s a game-changer. My kids (and let’s be real, the adults too) devour this. I make this when I need a guaranteed crowd-pleaser, or frankly, when I just need a serious comfort food hug in dessert form. It’s way easier than fussing with individual cookies or a tricky pie crust, too. (Though I did have a moment once where the crust cracked coming out the oven, talk about a bummer, but a little whipped cream fixes *everything*.)
Gather ‘Round: Here’s What You’ll Need
Here are the bits and bobs you’ll need. Don’t stress too much about perfection here, baking should be fun!
- **For the Crust:**
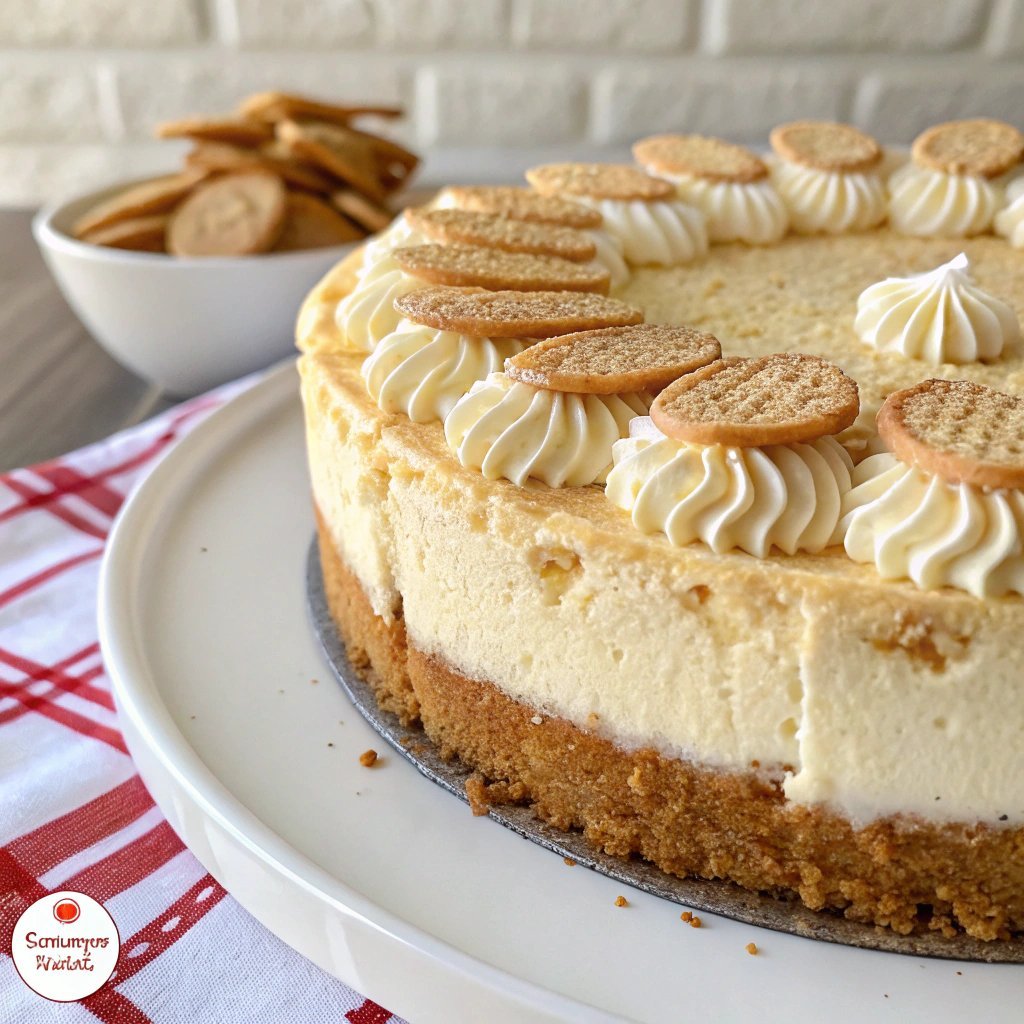
- About 2 cups (or one standard package, roughly 300g) of store-bought sugar cookies. The simple, crispy kind work best. I usually grab Nilla wafers because they’re easy, but any plain sugar cookie will do the trick!
- 1/2 cup (1 stick or 115g) unsalted butter, melted. Salted is fine if that’s all you have, just maybe skip adding extra salt anywhere else.
- Maybe a pinch of salt, just to make the flavors pop.
- **For the Filling:**
- 3 blocks (8 oz or 225g each) cream cheese, full fat please! And make sure it’s softened. Seriously, softened cream cheese is non-negotiable for a smooth filling. If you forget, a quick zap in the microwave (like 15 seconds at a time) can help, but letting it sit out is best.
- 3/4 cup (150g) granulated sugar.
- 2 large eggs, also at room temperature.
- 1 teaspoon vanilla extract. I’m partial to King Arthur’s vanilla, but use your favorite!
- 1/4 cup (60ml) sour cream or plain full-fat Greek yogurt. Sour cream is classic for cheesecakes, it adds that little tanginess I love.
- 1 tablespoon all-purpose flour. This is my little secret weapon to help prevent cracking, I think it really makes a difference!
- A pinch of nutmeg (optional, but gives it a little something special).
Let’s Get Baking! (The Fun Part)
Okay, follow these steps, don’t overthink it! Get your oven preheating to 350°F (175°C).
- **Crust Time:** Pop your sugar cookies into a food processor and pulse ’em until they’re fine crumbs. No food processor? No problem! Stick them in a Ziploc bag and bash ’em with a rolling pin or a heavy can. It’s surprisingly therapeutic. Mix the crumbs with the melted butter and the pinch of salt. Press this mixture firmly into the bottom of a 9-inch springform pan. Really get in there with the bottom of a glass or measuring cup to make it nice and compact.
- **Pre-bake the Crust:** Bake the crust for about 8-10 minutes, just until it smells amazing and looks slightly golden. Let it cool a bit while you make the filling.
- **Filling Magic:** In a large bowl, beat the softened cream cheese and sugar together until it’s super smooth and creamy. Use an electric mixer if you have one, it makes life so much easier. This is where I usually sneak a tiny taste of the plain cream cheese mixture… gotta check it’s good, right?!
- **Add the Wet Stuff:** Beat in the eggs one at a time, mixing just until each is incorporated. Don’t overmix once the eggs are in! Gently stir in the vanilla, sour cream (or yogurt), flour, and nutmeg if you’re using it. The batter should be smooth but don’t beat the tar out of it, we don’t want to add too much air.
- **Pour and Bake:** Pour the filling over the cooled crust in the springform pan. Gently tap the pan on the counter a few times to get rid of any big air bubbles.
- **Water Bath (Recommended!):** Okay, a water bath sounds fancy but it’s honestly the best way to prevent cracks and get an even texture. Wrap the bottom of your springform pan *really* well in heavy-duty foil (like, two layers!). Place the foil-wrapped pan in a larger roasting pan. Pour hot water into the roasting pan until it comes about halfway up the side of the cheesecake pan. Carefully place the whole contraption in the preheated oven.
- **Bake the Cheesecake:** Bake for 50-60 minutes, or until the edges are set but the center still jiggles slightly. It shouldn’t look liquidy though!
- **Cool Down:** Turn off the oven, crack the door open slightly, and let the cheesecake sit in the warm oven for another hour. This gradual cooling helps prevent cracking.
- **Chill Out:** Remove the cheesecake from the water bath (carefully!) and the oven. Let it cool completely on a wire rack. Once it’s room temperature, cover it loosely with plastic wrap and refrigerate for at least 4 hours, but honestly, overnight is even better. It really lets the flavors meld and firms everything up.
- **Unmold and Serve:** When you’re ready, carefully run a knife around the edge of the pan before releasing the springform side. Slice and enjoy!
Just a Couple of Notes From My Kitchen
- Softening the cream cheese is legit the most important step for a smooth filling. I learned this the hard way with lumpy cheesecake once. Ugh.
- Don’t skip chilling! It sets everything up properly. Trust me, a warm, wobbly cheesecake is just sad.
- Water baths are a little extra effort but they make a huge difference in texture and help prevent those annoying cracks on top. Worth it!
- If you do get a crack, don’t panic! Cover it up with whipped cream or a berry compote. No one will ever know.
Things I’ve Tried (and One That Didn’t Go So Well)
I’ve messed around with this sugar cookie cheesecake recipe a bit. Adding a little almond extract to the filling is really nice, it pairs well with the cookie flavor. Or swirling in some raspberry jam before baking? Yum! I also sometimes press some extra crumbled sugar cookies on top of the filling before baking, which adds a nice crunchy layer.
What didn’t work? Trying to make mini cheesecakes in muffin tins using this exact recipe. The crust didn’t hold up right, and the baking time was tricky. Stick to the big pan for this one, folks.
Equipment You’ll Need (Mostly!)
You’ll definitely need a 9-inch springform pan. They’re designed specifically for cheesecakes and make getting it out in one piece possible. This one from Circulon is similar to mine and has lasted ages. A food processor is super handy for the crust, but a bag and a rolling pin work just fine, truly.
Storing Your Masterpiece
Keep any leftover sugar cookie cheesecake covered tightly in the fridge. It should last 3-4 days. Though honestly, in my house it never lasts more than a day or two before it’s all gone! You *can* freeze slices too, wrap them well in plastic wrap then foil. Thaw in the fridge.
Serving Suggestions – How I Like It
Oh, the serving part! I like it plain, just letting the sugar cookie cheesecake shine. But a dollop of fresh whipped cream? Yes please! Or a drizzle of caramel sauce? Divine. Sometimes for holidays, I’ll add some festive sprinkles on top of the whipped cream. My mom always insists on a tiny side of berries, which is also pretty spot on.
Pro Tips (So You Don’t Make My Mistakes)
Okay, listen up, learn form my pain! I once tried rushing the cooling process by sticking it straight into the fridge after baking. Huge crack right down the middle! Letting it cool gradually in the oven, then on the counter, is key. Also, make SURE your cream cheese is soft; I know I said it before but it’s worth repeating. Trying to beat cold cream cheese is a total nightmare and you’ll end up with lumps. Don’t do it!
Questions You Might Have (And My Answers!)
Can I use gluten-free sugar cookies for the crust?
Yep, absolutely! Any store-bought crunchy cookie that crumbles well should work just fine.
My cheesecake cracked! What did I do wrong?
Ah, the dreaded crack! It happens to everyone, don’t feel bad. Usually, it’s sudden temperature changes (taking it out of the oven too fast), overmixing the batter (which adds too much air), or sometimes just… because. It’s still delicious, just cover it up! Use that whipped cream trick.
How far ahead can I make this?
This cheesecake is actually better the next day, after it’s had a chance to really chill and let the flavors develop. You could easily make it 1-2 days ahead of when you plan to serve it. Any further out, maybe freeze it.
Do I *really* need a water bath?
Need? Technically no, you can bake it without. But… it makes a *huge* difference in the texture and helps prevent cracks. I highly recommend it if you want that super smooth, creamy cheesecake texture. It’s an extra step but worth it!
Hope you give this a try! Let me know if you make it!
Ingredients
- 2 cups crushed sugar cookies (about 24 cookies)
- 1/2 cup unsalted butter, melted
- 3 (8 ounce) packages cream cheese, softened
- 1 1/4 cups granulated sugar
- 1/4 cup all-purpose flour
- 1 teaspoon vanilla extract
- 1/2 cup sour cream
- 4 large eggs
Instructions
-
1Preheat oven to 350°F (175°C). In a medium bowl, combine crushed sugar cookies and melted butter. Press mixture firmly into the bottom and slightly up the sides of a 9-inch springform pan.
-
2In a large bowl, beat softened cream cheese with an electric mixer until smooth. Gradually beat in granulated sugar and flour until well combined.
-
3Mix in vanilla extract and sour cream until just combined. Add eggs one at a time, beating on low speed after each addition just until incorporated. Do not overmix.
-
4Pour the cream cheese mixture over the sugar cookie crust in the springform pan. Place the springform pan in a larger baking pan and fill the larger pan with about an inch of hot water (water bath).
-
5Bake for 60-75 minutes, or until the edges are set but the center is still slightly jiggly. Turn off the oven and let the cheesecake cool in the oven with the door slightly ajar for 1 hour.
-
6Remove from the oven and water bath. Let cool completely on a wire rack. Once cool, cover and refrigerate for at least 4 hours, preferably overnight, before serving.
Approximate Information for One Serving
Nutrition Disclaimers
Number of total servings shown is approximate. Actual number of servings will depend on your preferred portion sizes.
Nutritional values shown are general guidelines and reflect information for 1 serving using the ingredients listed, not including any optional ingredients. Actual macros may vary slightly depending on specific brands and types of ingredients used.
To determine the weight of one serving, prepare the recipe as instructed. Weigh the finished recipe, then divide the weight of the finished recipe (not including the weight of the container the food is in) by the desired number of servings. Result will be the weight of one serving.
Did you make this recipe?
Please consider Pinning it!!